Plamo by Kotobukiya

This is the page with plamo kits manufactured by Kotobukiya! I don't have anywhere near enough to divide them by 'series', so this is the category.


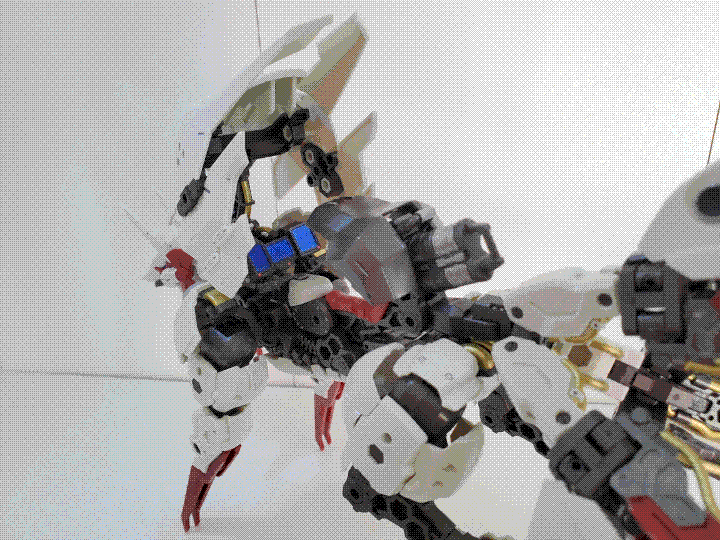
Hexa Gear - Weird Tails
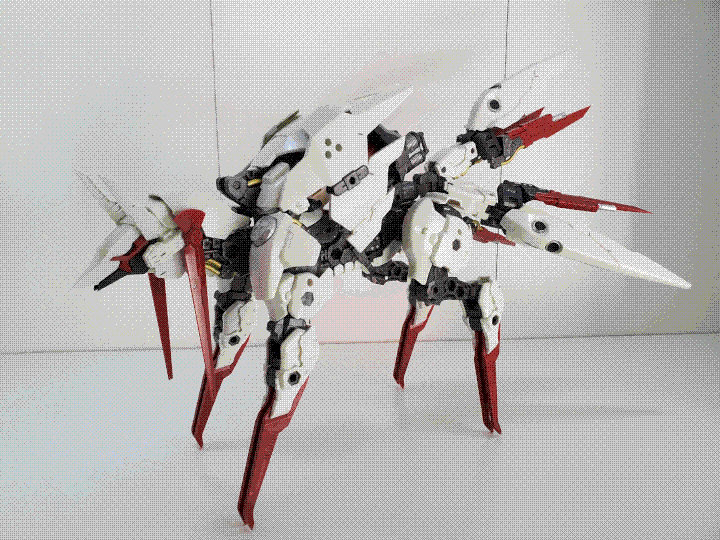
A photo of the Hexa Gear Weird Tails model kit. It is a quadruped mech resembling a fox, predominantly white but with red detailing at the ends of its legs and tail. There are also gold tube accents all over the model, including on its metallic grey inner frame. The legs end in sharp points, and the tail is split into three large sections which are themselves split into three smaller sections. The eyes are narrow slits. The model is standing in a neutral pose on a white, empty shelf, with all four feet on the ground.
Weird Tails, standing normally.
A photo from behind the Weird Tails model. The cockpit canopy has been opened, revealing a rider saddle and a cluster of bright blue screens in front. The relative size of the cockpit area suggests that this is a smaller mech, much closer to human-scale. This angle also provides an excellent view of the gold tube detailing all around the tail pieces and inner frame.
The interior control panel of Weird Tails.

Okay, so this isn't foxgrrls.neocities.com. This is a wolf zone. However. I am not immune to fox robots. And this might just be my favorite kit I have, period: it's not the most intricate or most detailed or easiest to assemble, but it is a nine-tailed fox that looks like it's made mostly out of swords and that's neat.
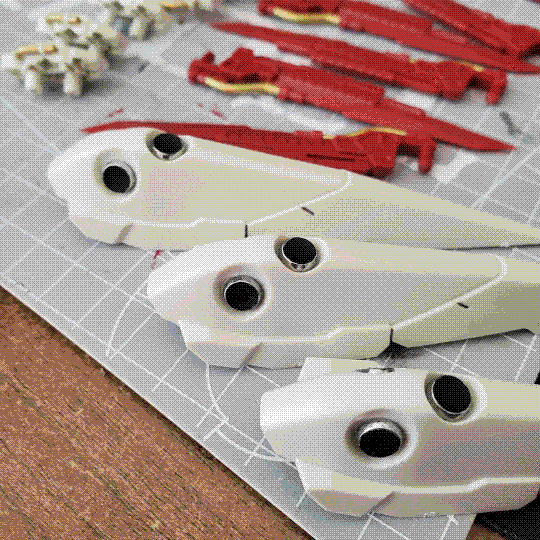
A photo of several parts of the Weird Tails model in the process of being detailed. In the foreground, the slightly conical tail pieces with circular chrome silver inserts can be seen, while there are red and white pieces with gold tube detailing in the background, out of focus.
Several of the parts in the middle stages of detailing.
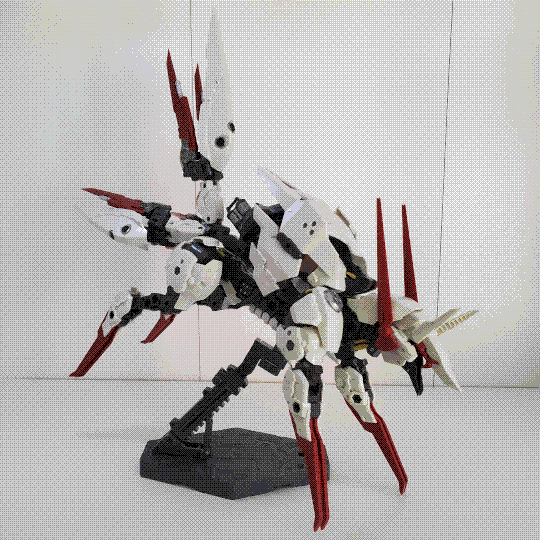
A photo of the Weird Tails model kit in a dynamic pose on a raised stand. The legs are stretched out forwards and backwards, as if it is leaping towards something, and its mouth is open. Its tail is also raised more than usual.
You can do some pretty good dynamic poses with it.

The other reason I like this kit so much is because of the time investment: this kit is... not color accurate, to say the least. There are grey parts, red parts, and white parts, and anything else you're going to have to do yourself. I learned a lot about using acrylic paints doing this kit, but the results were incredible. All the little gold pipes, putting gunmetal and silver on the correct panels, and using metallic sharpies for the cockpit panels just really bring the design together.
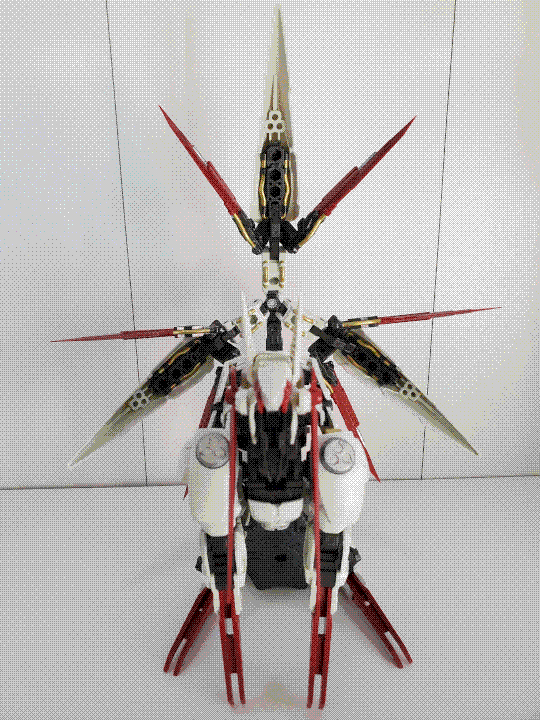
A photo of the Weird Tails model kit in a sitting pose. It is sitting mostly on its hind legs, which are laid flat on the ground instead of being on the sharp tips of its 'feet', with the front legs just providing some forward balance. The tail has seperated from the main body and is arrayed behind it, with all nine segments fully spread out and extended in a spiky 9-pointed star. This provides an good view of the interior gold detailing.
Weird Tails, ready to fire.

Tamotu MODERHYTHM Collaboration [Light Green Ver.]
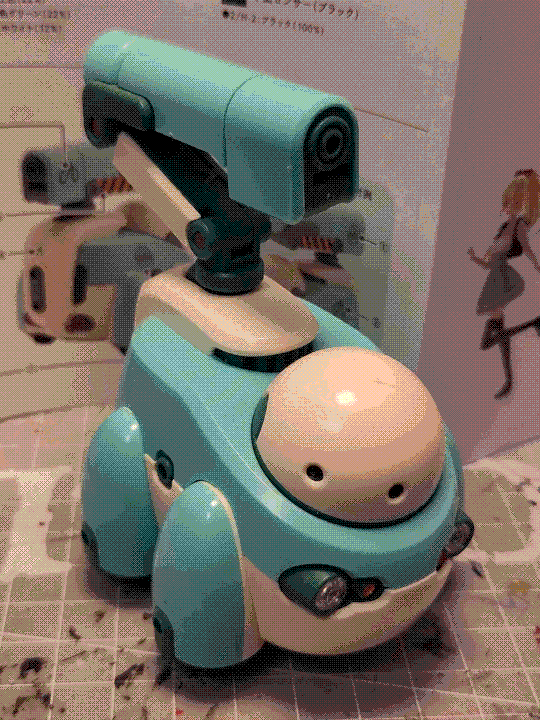
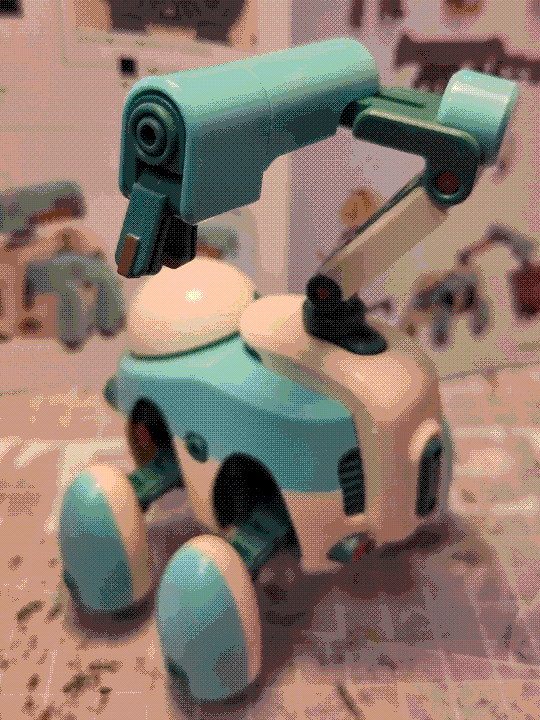
A photo of the Maruttoys Tamotu model kit. It is an oblong robot with four stubby wheeled 'legs', a dome head with two small black 'eyes', and a multi-jointed grabbing arm mounted at the back. The entire design is very curved. The front also has headlights and indicator lights inset into the body. The color scheme of this one is two-tone 'light green' (could be interpreted as light blue or teal) and a warm off-white, with the inner frame being a dark forest green. The instruction manual, showing decal placement and some scale-compatible model lines, is visible in the background.
This is probably the most friendly robot I have.
A photo of the Tamotu model kit from behind. This shows off the articulation of the kit: the wheeled 'legs' are extended out from the body to give it a more stable platform, and the grabbing arm is unfurled and in the foreground of the picture. The back of the body can also been seen, showing some cooling vents and a little bit of a rear brakelight.
Ready for some lifting!

The Maruttoys line has some all-time Friends, and Tamotu is one of them. An adorably rounded design and plenty of articulation meant building this was a blast, and the color scheme of this particular version looks beautiful - the off-white and mint green, combined with the dark green inner frame, give it a warm, retro look.
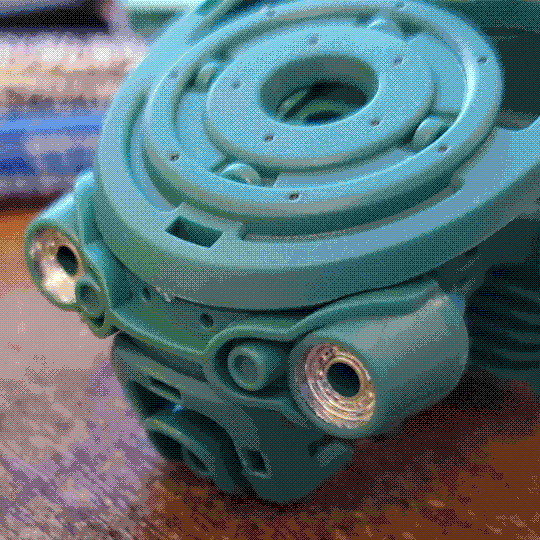
A photo of the inner frame of the Tamotu kit, showing the recesses for the front headlights before the transparent pieces were placed over them. These have been filled in with chrome silver paint, to ultimately give the headlights an authentic, reflective look.
That EX Chrome Gundam marker is just worth its weight in gold.
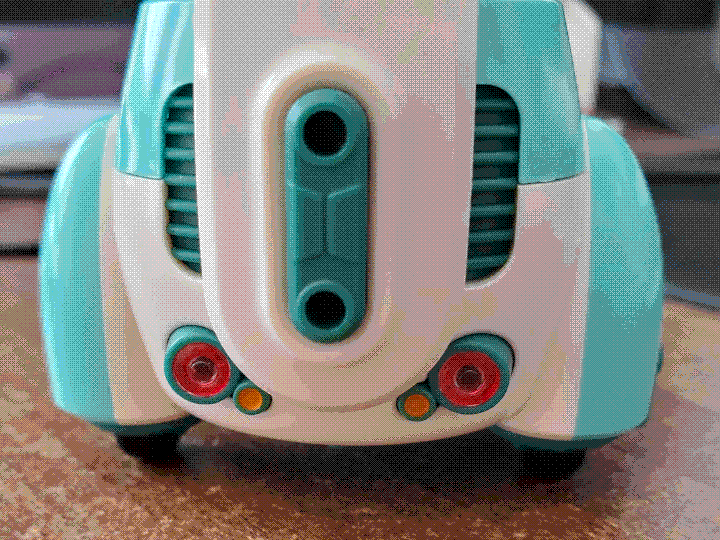
A photo of the Tamotu kit, zoomed in on the back. The cooling vents in the inner frame can be seen clearly, as well as the rear brakelights and indicators. The indicators appear to just be orange paint in the light recesses.
The rear lights ended up looking very good.

Apart from all the panel lining on the inner frame (which was a great reason to use the brown panel lining marker, for once), most of the detailing in this kit was doing the lights. Both the front and rear main lights were filled with chrome silver, while the orange indicators are just orange acrylic paint (since they don't have a clear part to go over). The 'tyres' of the wheels also needed to be painted black, and I used a bronze metallic sharpie in several of the joints to accent them a little.


Noseru [White Ver.]
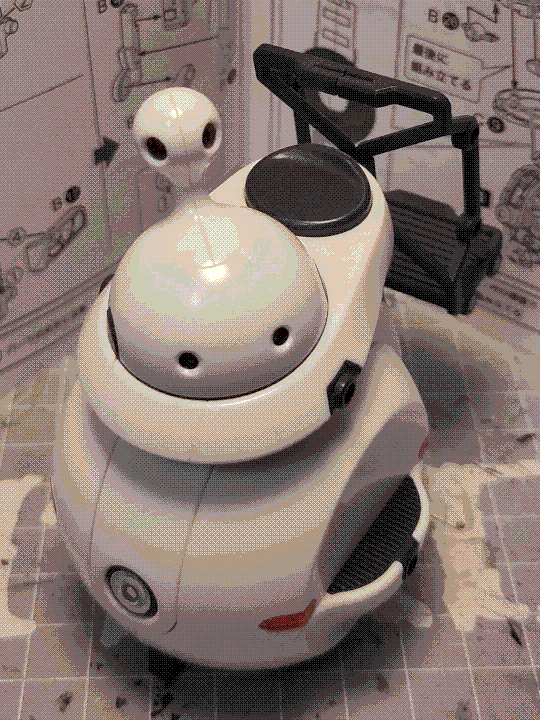
A photo of the Maruttoys Noseru model kit. It is a relatively tall robot with two main wheels side by side (although they are almost completely covered by the outer shell). The main body is mostly spherical with two cuts into the side for footrests, and it has a domed head sitting on top of a 'collar': the head also has a spherical sensor pod attached to the top. All of the body panels are colored white. There is a seat behind the head, as well as a standing platform on the robot's back. A single central headlight and a couple of side indicator lights are visible. The instruction manual for the kit is in the background.
Slightly less friendly, but still friendly.
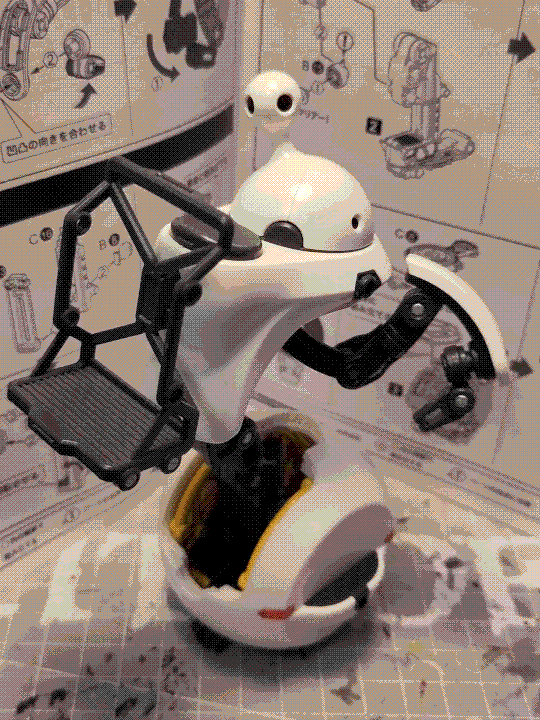
A photo of the Noseru kit with the central body section extended upwards (i.e. the 'collar', heat, seat, and standing platform). This also reveals a multi-jointed grabbing arm which was folded up inside the chassis. Finally, parts of a yellow inner frame can be seen inside the exposed inner cavity.
It can lift up quite high!
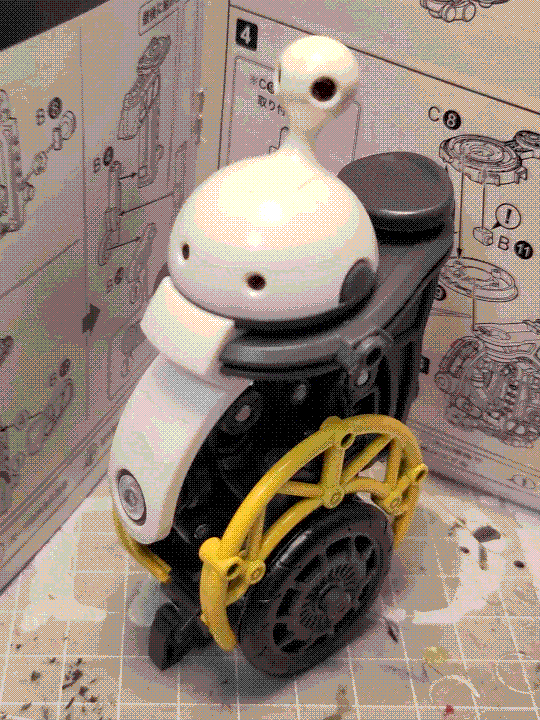
A photo of the Noseru kit with the spherical main body removed. This clearly shows the yellow inner frame lattice, as well as the two main wheels (although only one is visible from the angle of the photo). A little extendable foot can also be seen at the front, to stabilize the robot when stopped.
Showing off the inner frame.

The other Maruttoys kit I've built is the Noseru, this time in plain white. It has a cool two-wheeled design (plus a little trailing wheel, although that one doesn't spin in the model), with a front stabilizer that pops out to keep it steady. It also has a lifting arm.
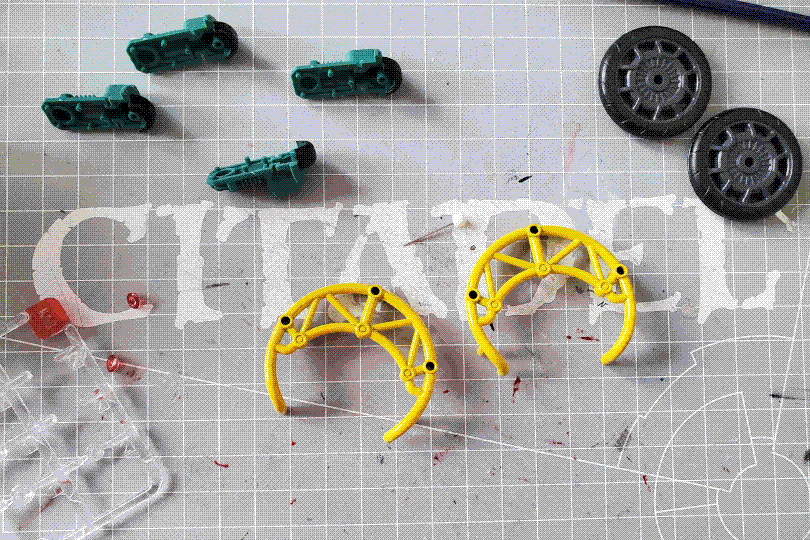
A photo of the inner frame of the Noseru being painted in yellow, as well as its main wheels being painted in black around the tyre area. Also in the photo are the four wheels of the Tamotu robot, also having the tyre area of their wheels being painted black.
The inner frame and wheels being painted, alongside the wheels of the Tamotu.
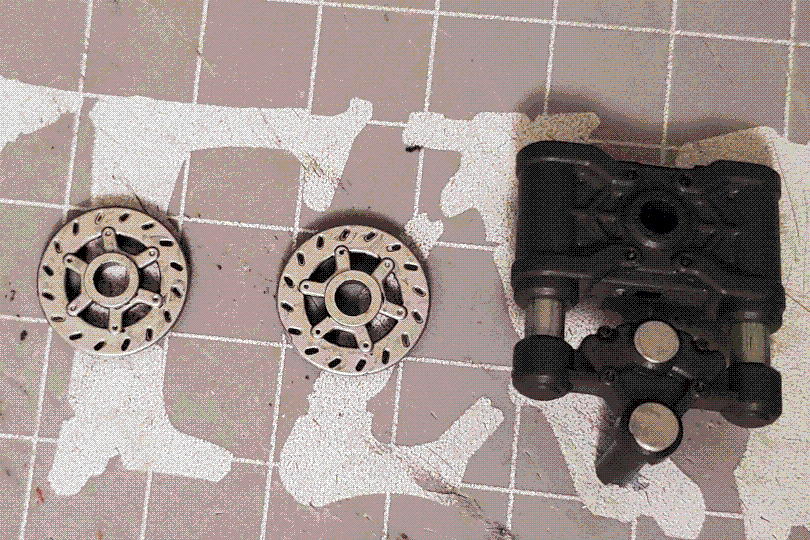
A photo of the Noseru's suspension pieces. The suspension for each wheel consists of two vertical shock absorbers which are connected to a body mount on one side and the wheel axle on the other. Also in the photo are the two brake discs. The brake discs, shock tubes, and some other endcaps have been painted silver with sharpie.
The Noseru's suspension pieces.

Detailing this was... interesting. Like the Tamotu, the 'tyres' and lights needed to be painted (at least underneath) and I did a bunch of extra detailing with metallic sharpie, but there's also the inner frame pieces that go around the wheels. In the assembly guide, they're yellow, and it looks so obviously good and correct that they had to be yellow: but they aren't by default! Like I get it, adding another color of plastic is expensive and it would just be for two parts, but still. Anyway, a can of yellow Tamiya spray paint did the job - I avoid getting an airbrushing setup for another day...