Keebs (Computer Keyboards)

This is the keyboards page! Scroll below to see the keebs...


Sofle
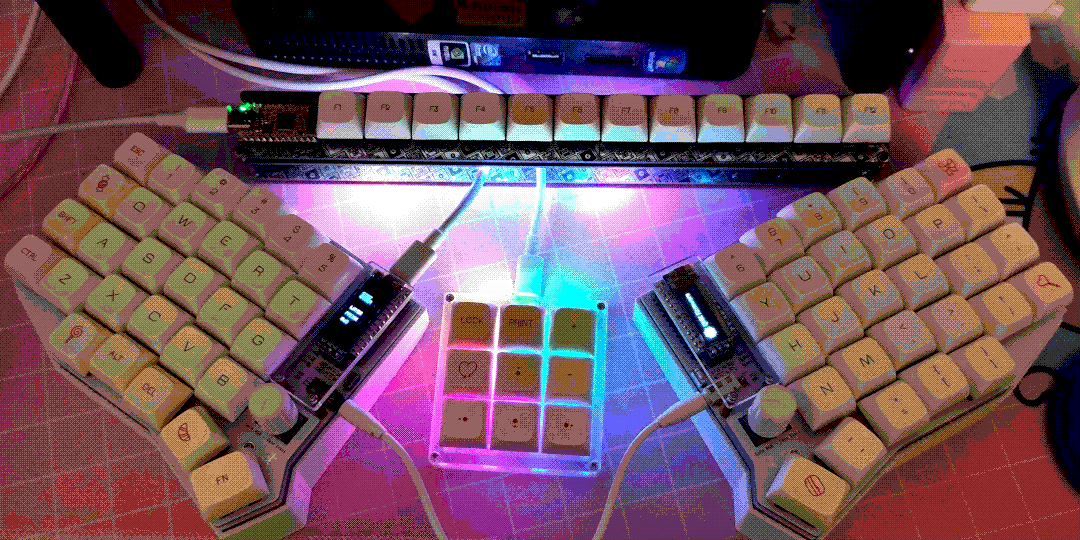
A picture of the Sofle split keyboard on a pink deskmat, surrounded by macropads and some other miscellaneous objects at the edge of the frame. It is in two halves, each having an OLED and encoder knob. It's on a white tented stand and has keys that are mostly white, with some pastel pinks and yellows for special keys.
Current state of the Sofle, with the BackRowPad behind it and YMD09 in the centre.

The Sofle is my daily driver. It's comfortable, has just enough keys (well, mostly), the encoders are great, it's hotswap, there's just not a lot wrong with it. This was the first keyboard I actually assembled myself and it bears some corresponding scars (this is technically the Sofle RGB, but that's never happening), but three years in it's still going strong. Keycaps are a cheap dyesub set I got from AliExpress (XDA Macaroon).
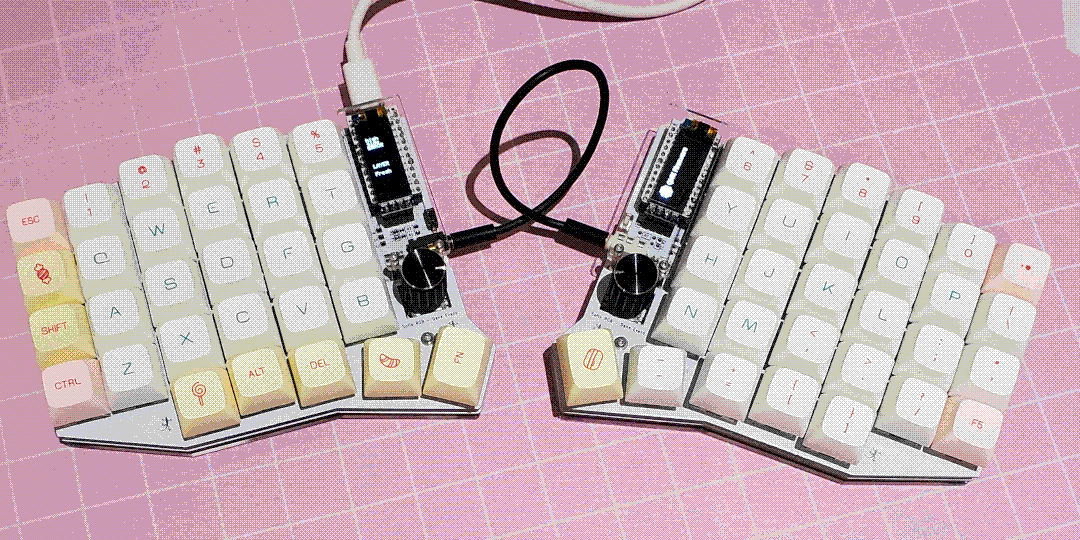
A picture of the Sofle split keyboard on a pink deskmat, by itself. The keycaps are laid out slightly differently to the above picture, and the encoder knobs are black instead of white.
The Sofle right after I finished building it.
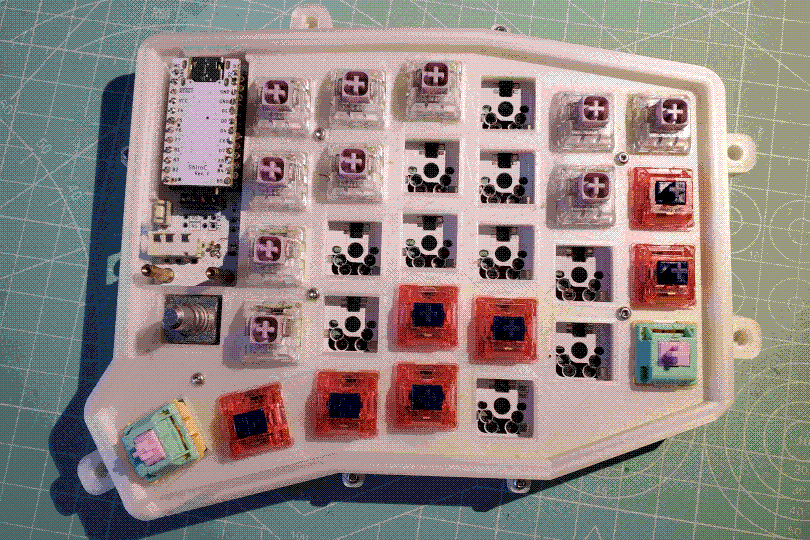
A picture of one half of the Sofle split keyboard on a mint green cutting mat, with keycaps, OLED, and some keyswitches removed. This reveals a variety of keyswitch types, including Hako Violets, SP Star Magic Girls, and SP Star Kon Momos.
The original keyswitch layout (partial), which has since been simplified.

YMD09 macropad

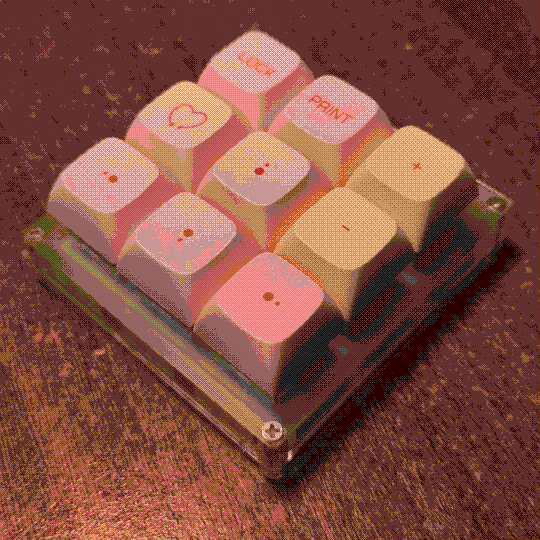
A heavily-dithered photo of the YMD09, a 3x3 9-key macropad with a clear acrylic base. The keycaps are mostly pastel pink with a couple of pastel yellow ones. There's 'PRINT', 'LOCK', and arrow keys among other things.
The YMD09.

This was actually the first mechanical 'keyboard' I got, which let me test out keyswitches and mess around with QMK a bit. It's stayed at the centre of my setup for when I actually need arrow keys (or printscreen), which it delivers with some delightfully clicky Kailh Speed Bronzes. Keycaps are a cheap dyesub set I got from AliExpress (XDA Macaroon).


BackRowPad
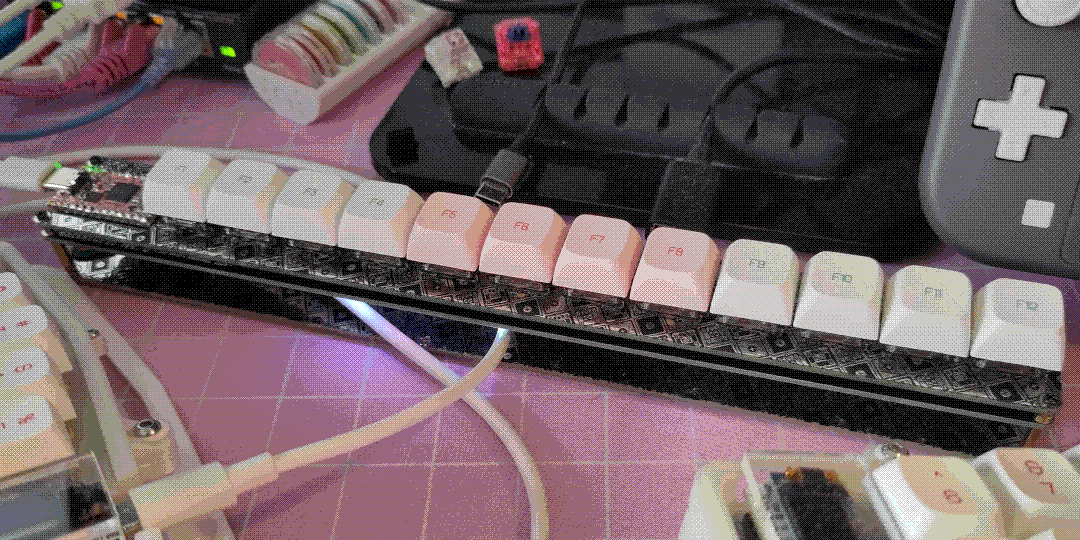
A photo of the BackRowPad, a 12-key macropad with all the keys in a straight line. It's on a pink deskmat surrounded by other desk objects. The keycaps are pink and white function keys, and the baseplate and switchplate are black with an intricate silver pattern on them. There's a gap between the main PCB and the baseplate that allows other wires to be routed through it. The microcontroller is seperately out to the side of all the keys, and is pink.
The BackRowPad.

The BackRowPad is a... macropad? function row replacement? of my own design, created as a first keyboard project to get familiar with the design concepts and PCB ordering. That said, it's hotswap, has support for RGB strip underglow, and everything works flawlessly. Keycaps are a cheap dyesub set I got from AliExpress (XDA Macaroon).

The KiCAD files and QMK firmware for this board are available here, as well as a rough assembly guide!


dumbpad
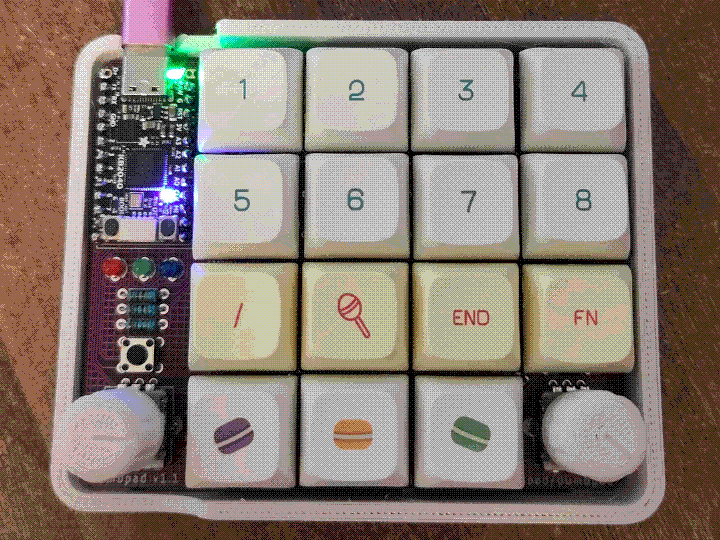
A photo of the dumbpad, a 4x3 12-key macropad. One of the keys has been replaced by an encoder, and there is an additional encoder to the bottom left of the main grid. The PCB (partially visible) is purple, and the kecaps are a mix of white and pastel yellow. Also visible is the black KB2040 microcontroller, some LEDs, and the reset button.
The dumbpad.
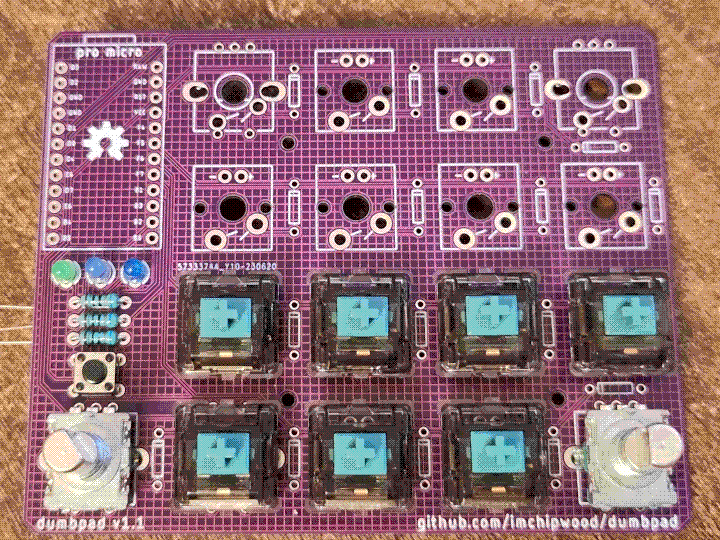
A photo of the dumbpad before assembly, test-fitting some components such as the keyswitches, encoders, and LEDs. The grid ground plane design can be clearly seen.
Making sure things fit on the dumbpad before assembly.

The dumbpad is a 4x4 (plus or minus a couple of encoders) macropad. Honestly I just got some PCBs along with a different order because they were cheap and I wanted to try the purple silkscreen, but I'm pretty glad I did: it's simple, easy-to-assemble, and you can do some pretty powerful stuff with the available keys and a couple of encoders. I have it set up for use with Krita, and it works like a charm. Keycaps are a cheap dyesub set I got from AliExpress (XDA Macaroon).


PocketType
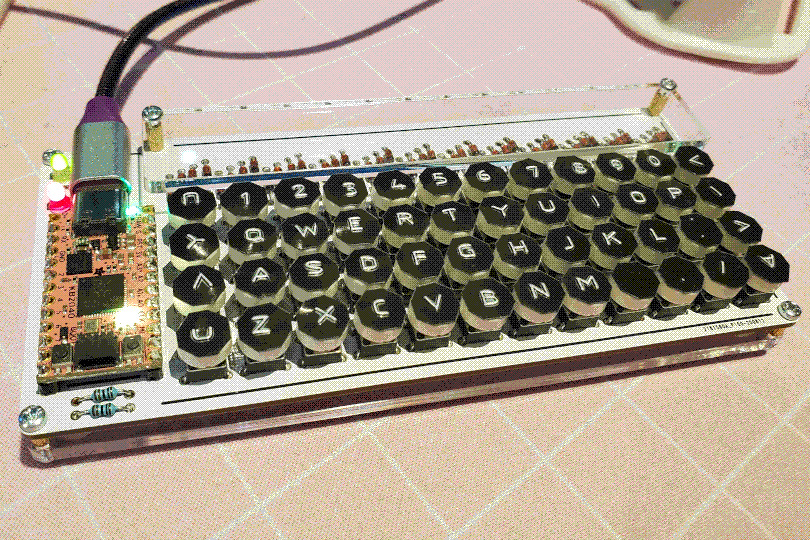
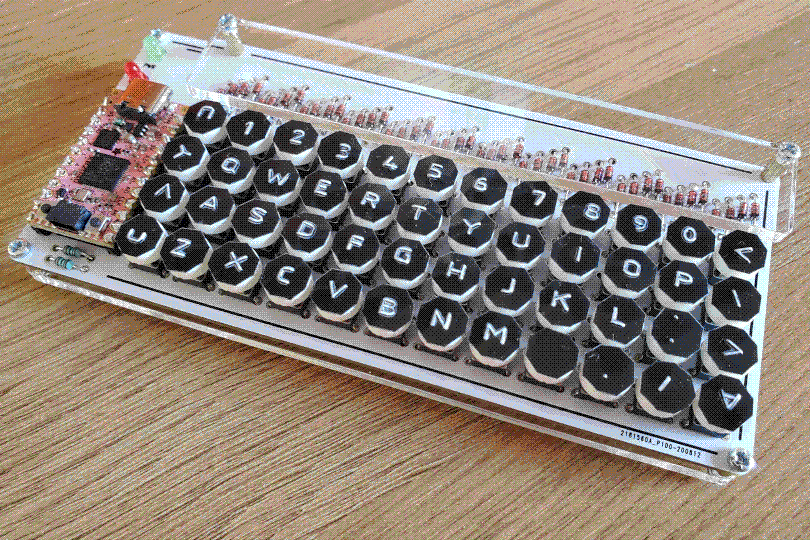
A photo of the PocketType, a small keyboard that uses 6x6mm button switches as keys. These are arranged in a 12x4 grid on a white PCB, with the diodes arranged in neat rows above the switch matrix. The microcontroller (a pink KB2040) is to the left, as well as some indicator LEDs. The keyboard has a clear acrylic base and some clear acrylic covering the rows of diodes.
The PocketType.
The same PocketType as described in the last photo, except at a slightly different angle.
Another angle of the PocketType.

The PocketType is a very small keyboard that, true to its name, can fit in reasonably-sized pockets. The switches that had to be used to make that happen don't exactly provide the best typing feel, but it does work in a pinch and years of using a BlackBerry keyboard actually made me alright at using it. The keycaps were supplied with the kit, but I made all the labels myself with an emboss label maker! This keyboard also inspired one of my worse ideas...


Cerberus
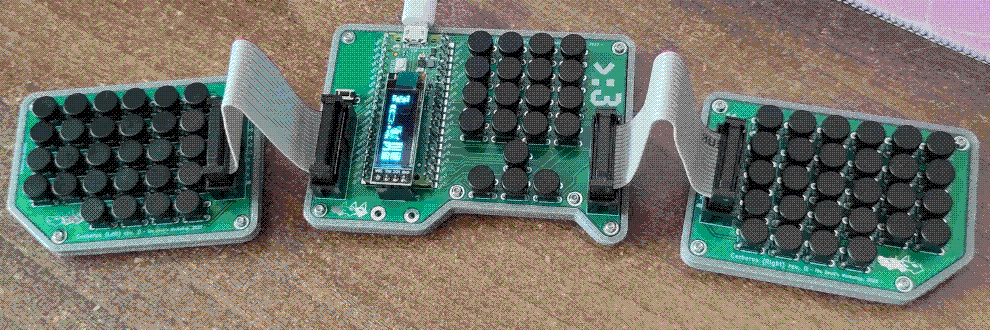
A photo of the Cerberus, a small split keyboard using 6x6mm button switches as keys. The keyboard is in three parts: the centre part has the Pi Pico microcontroller, an OLED display, and some keys, while the left and right parts contain a 'standard' split keyboard matrix. The parts are connected with ribbon cables. The PCBs are green and are mounted in grey 3D-printed housings, while the circular 'keycaps' are black.
The fully-operational Cerberus.

The Cerberus is another one of my own creations. It's a "triple-split" keyboard where all the row and column connections are made directly to the central board, without multiple microcontrollers communicating like a typical split keyboard design. It's also tiny, using the same type of switches as the PocketType, but for some reason the ones I got were extremely wobbly and difficult to type on. It also uses a "full-size" Raspberry Pi Pico instead of something in the Pro Micro form factor in order to have enough pins to make all the connections on a single microcontroller. It does work and everything, and looks pretty cool, but... I maybe should've asked "why" first.
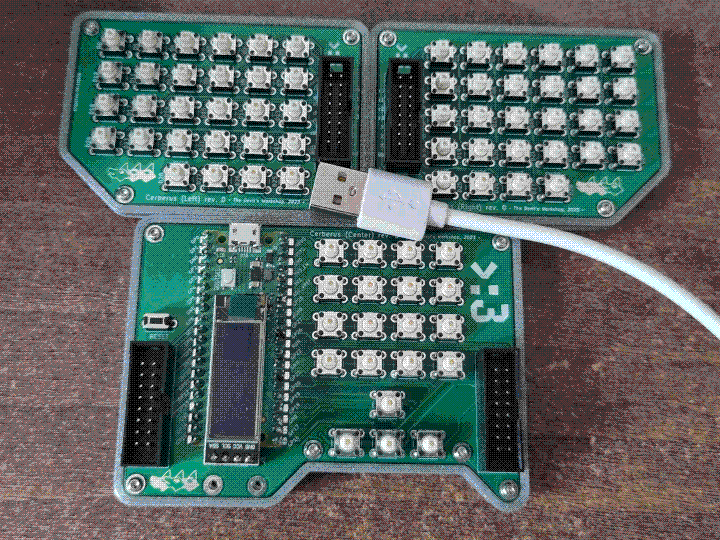
A photo of the three parts of the Cerberus, disconnected and pushed together. There are also no keycaps, showing the stems of the button switches used as keys.
All modules of the Cerberus, without any keycaps.
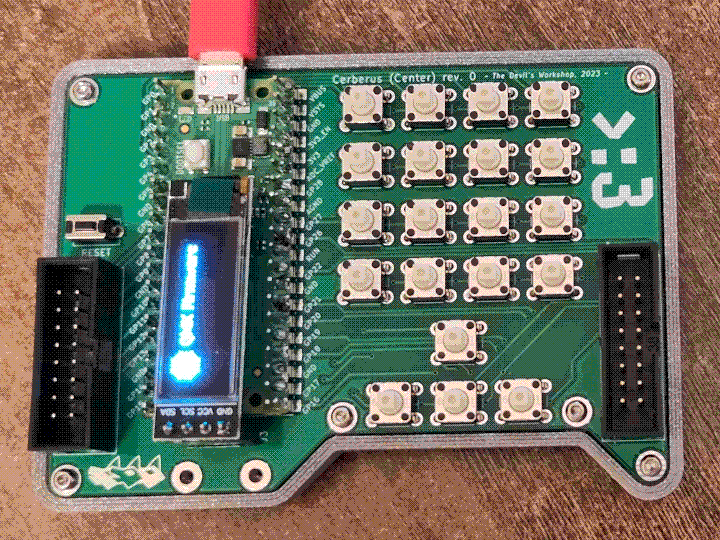
A close-up photo of the centre part of the Cerberus keyboard, without the other modules connected. This shows the exposed ribbon cable headers, as well as some of aesthetic design elements on the PCB (including a large >:3 face, a logo showing three canine heads with the centre one filled in differently, and text stating the name and revision of the keyboard).
The centre module of the Cerberus, with OLED running.

Manta

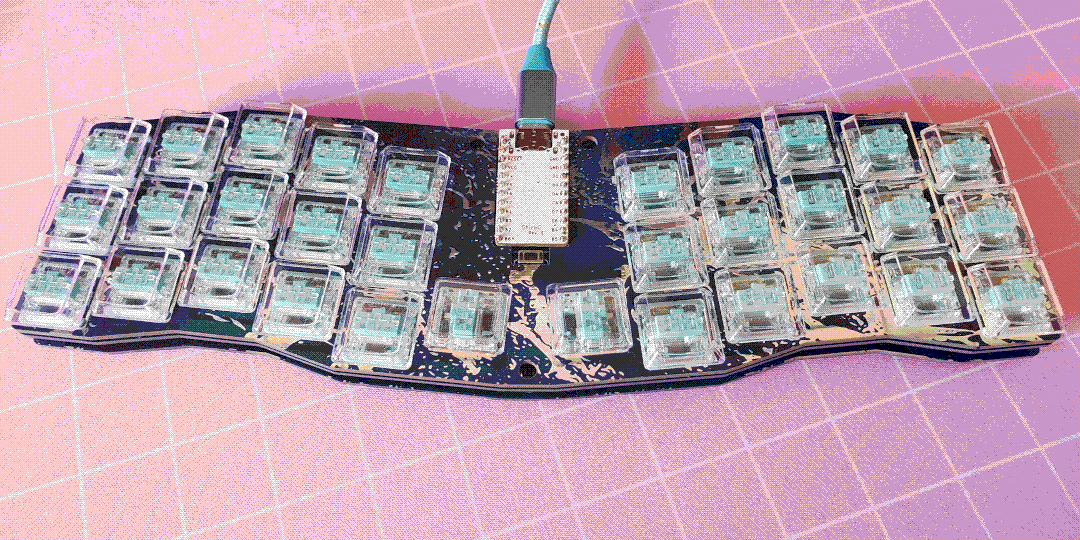
A photo of the Manta keyboard, a small column-stagger ergonomic keyboard with 32 keys. The keys are seperated into two halves, but they are all on one PCB. The white Shiro-C microcontroller is in the centre, and the entire keyboard is angled slighly to give it the impression of being shaped like a manta ray. The keycaps are transparent, allowing the cyan-colored keyswitches (Kailh Choc Robins) to be seen underneath.
The Manta.

The Manta by rainkeebs (out of production, but has been revived as the Fanta-Manta) is a cool little keyboard, in a compact if not quite pocketable form factor. I don't use mine much, but honestly that's mostly because I didn't put any labels on the keys - as long as you remember where the keys are, you can get very far with QMK layers. I also assembled mine with some clicky Kailh Robin choc switches, for a sleek, low-profile board. This was also one of the first keyboards I assembled alongside my Sofle, and it went mostly alright! The keycaps are some generic transparent choc caps from AliExpress.
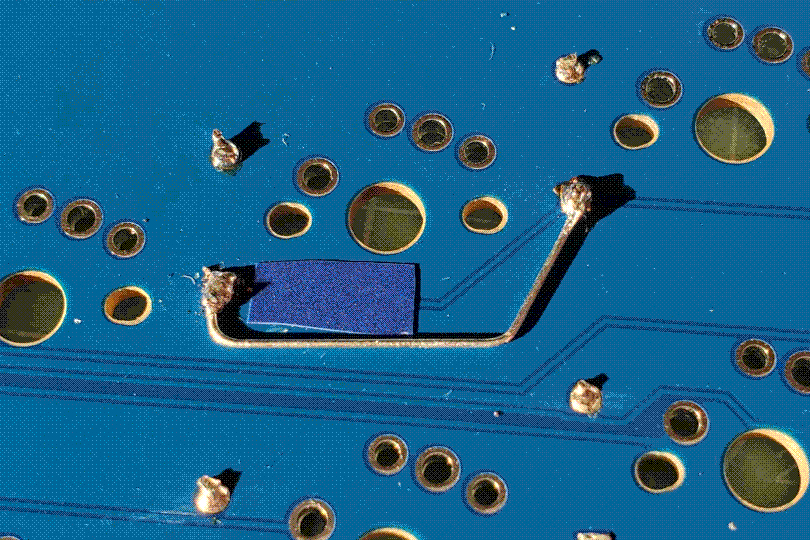
A close-up photo of the Manta PCB, showing a trace that has been bypassed using a bent diode leg.
Bypassing a ripped-up trace with a trusty diode leg.

Nightchord 2500

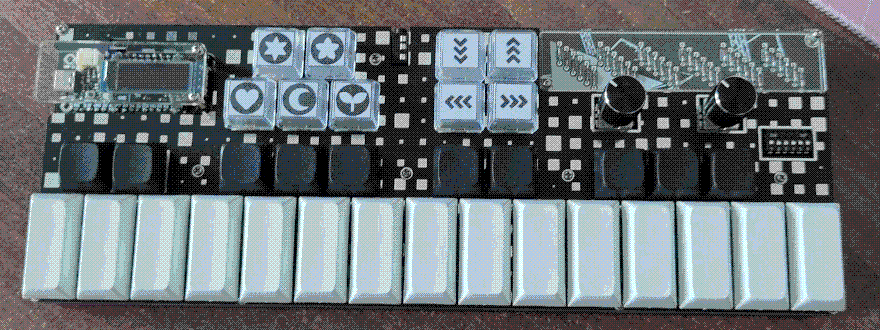
A photo of the Nightchord 2500 keyboard, which is a MIDI-input keyboard. In the bottom half there are two piano octaves, using 2u full-tone white keys and 1u semitone black keys. The top half has nine function keys (split into 4+5 groups), two encoders, a 6-way DIP switch, through-hole diodes arranged in cascading rows, and the microcontroller with an OLED over it. The switchplate is black with a silver-colored square pattern.
The Nightchord 2500.
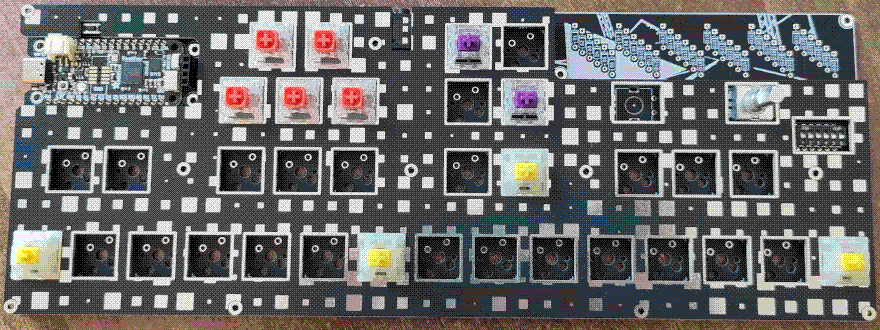
A photo of the Nightchord 2500 keyboard, with many switches removed and missing several components (including all of the diodes).
Test fitting components on the Nightchord 2500.

The Nightchord 2500, another design by me, isn't really a "computer keyboard". Instead, it's a QMK-powered MIDI keyboard. It's fully functional, with hotswap, encoders, an OLED display, RGB strip header, and some DIP switches for added customization. The only thing that I haven't tested yet is the split keyboard functionality (to get four octaves instead of two), but that's just because I haven't gotten around to building another one yet. This one also uses a nonstandard microcontroller, an Adafruit Feather (RP2040), since a Pico was too long and a Pro Micro didn't quite have enough pins for what I wanted. And yes, it was named after the Project Sekai group. Black keycaps are XDAs from AliExpress, white keycaps are DSAs from Signature Plastics, and the transparent customized ones are from Adafruit.
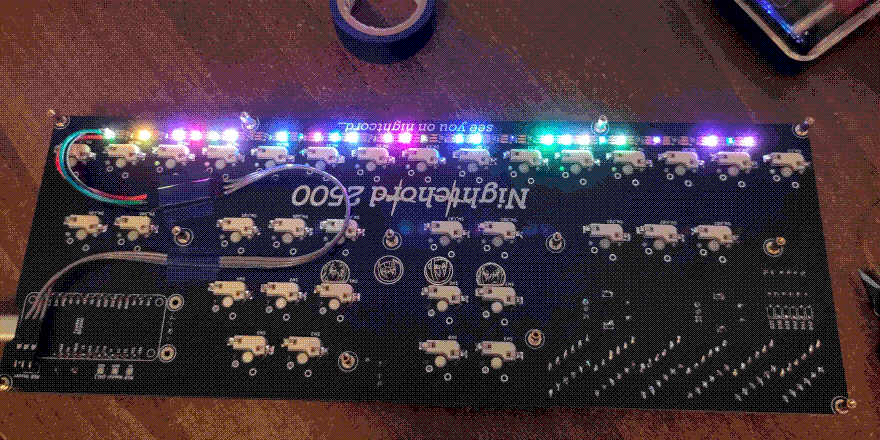
A photo of the underside of the Nightchord 2500 keyboard PCB. The main feature is an RGB LED strip, illuminated in pastel colours, but the hot-swap sockets and many soldered joints can also be seen. The silkscreen has the text 'Nightchord 2500/see you on nightcord...' on it, and there are some character portraits in circles as well.
Installing and testing the RGB strip on the Nightchord.

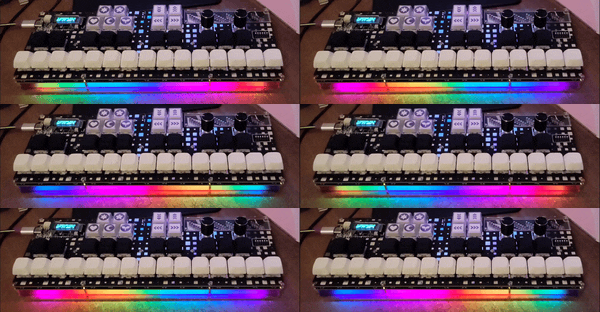
A small animated GIF of the Nightchord 2500 keyboard, showing the RGB underglow strip cycling a rainbow pattern, causing a rainbow to scroll on the acrylic baseplate.
Operational RGB (before I got correctly-sized keycaps).