Electronics Projects: Mods/Repairs

This page has mods and repairs I've done to existing electronic devices. None of them are particularly involved - all of them to date have been battery replacements, shell swaps, or both - but I'm still happy with what I've done so here's the page on them!


Gameboy Advance SP Shell Swap
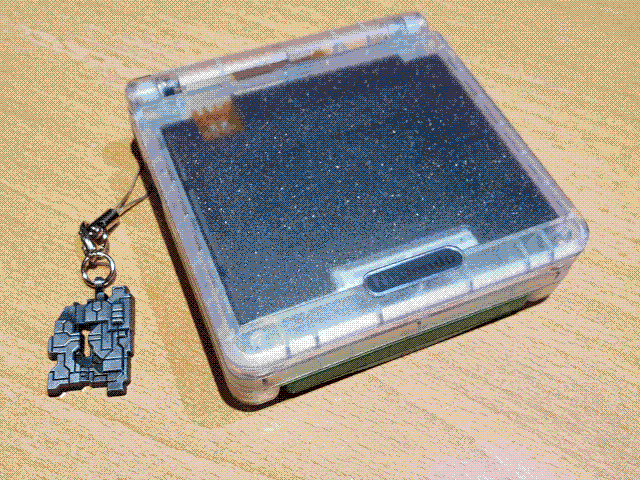
A photo of a Gameboy Advance SP with a clear shell. The handheld is closed and the top is visible, showing the Nintendo logo and a foam pad that sits behind the display. There is also a charm of the Engi ship from FTL: Faster Than Light attached to the charm loop.
Top of the shell-swapped GBA.
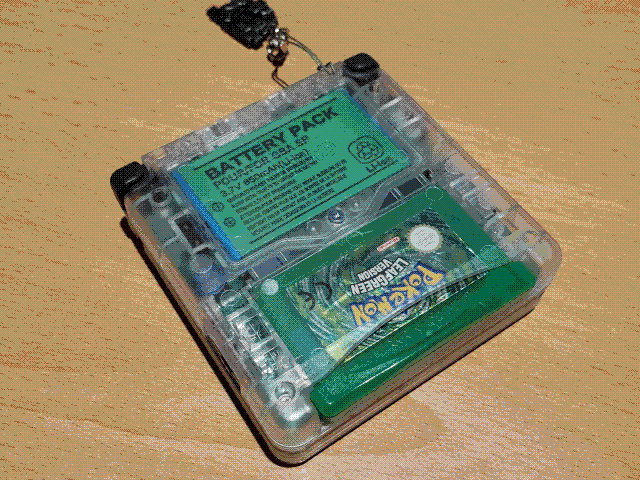
A photo of a Gameboy Advance SP with a clear shell. The handheld is closed and the underside is visible, showing a green aftermarket battery and the inserted cartridge (Pokemon LeafGreen Version). There is also a charm of the Engi ship from FTL: Faster Than Light attached to the charm loop.
Underside of the shell-swapped GBA.

As you'll see throughout the page, I'll only ever do shell swaps if I can find a clear transparent shell. This is for the simple reason that transparent electronics are just the coolest thing in the universe and it's a tragedy that manufacturers have largely moved away from them (although there are a few notable recent examples). Anyway, this is a pretty straightforward GBA SP shell swap and since the design of the system is so simple, it was pretty easy to do: the hardest part was removing and re-inserting the hinge bolt.
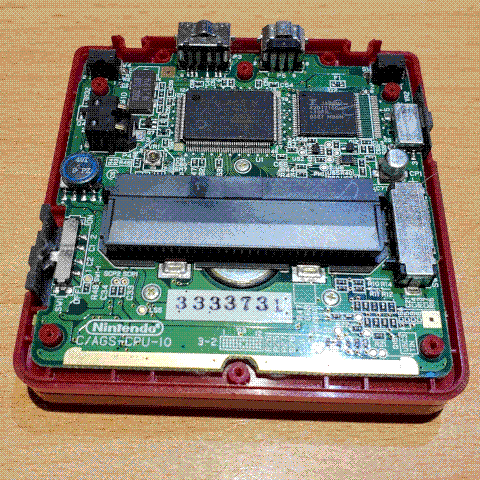
A photo of a Gameboy Advance SP in a stock opaque red shell with the lower half of the case removed, exposing the motherboard. This has many things on it, including the main GBA CPU, the cartridge port, the L and R buttons, and volume slider.
A nice view of the motherboard in the original case.
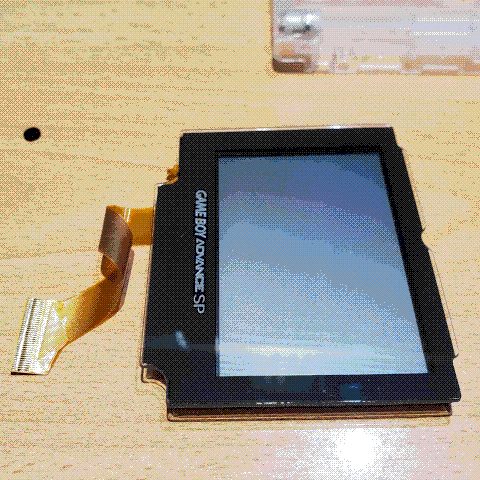
A photo of a Gameboy Advance SP AGS-001 screen removed from the handheld, showing its off-white 'default' state and some fairly thick glass.
You will have to pry this display from my cold, dead hands.

Somewhat notably, I did not switch the frontlit LCD for a backlit one, or an IPS mod. Partially this was due to cost and complexity, but the main reason is I absolutely love the original revision GBA SP screen. Yes, the frontlight makes it look pretty washed out, but under good sunlight the screen looks gorgeous and since you can turn of the light completely, the battery life is absolutely legendary (or at least it was when I got a non-dodgy battery for it). Also of note are the buttons: I mostly kept the original grey ones, but the original shoulder buttons slightly interfered with the new case and I ended up using the black ones that came with it. It looks pretty good at the back combined with the black charging and link ports.
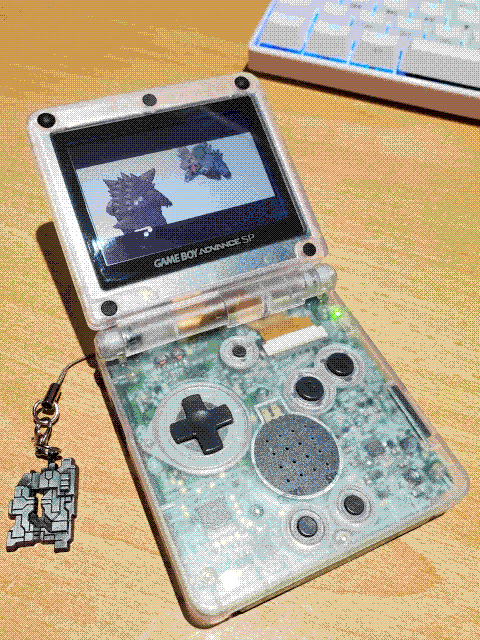
A photo of a Gameboy Advance SP with a clear shell. The handheld is open and the opening of Pokemon LeafGreen version can be seen running. Some components visible through the clear shell include the mono speaker and display ribbon cable.
Still fully functional!

Pokemon Emerald RTC Battery Replacement
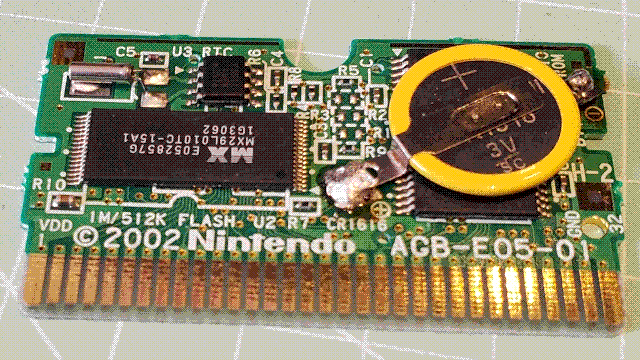
A top-down photo of a bare Pokemon Emerald cartridge PCB. The flash chip is on the left, and a button cell with a yellow casing around the outer edge has been soldered down on the right. The cartridge contacts are along the bottom edge.
The replaced battery.
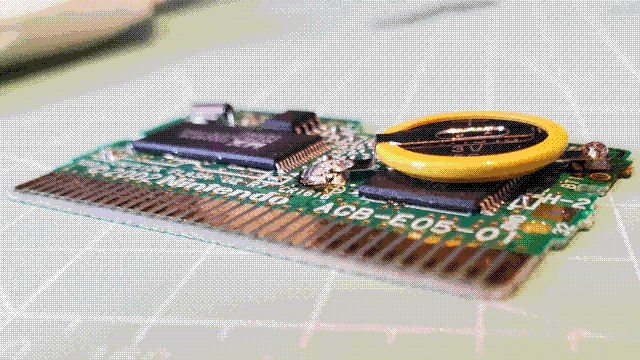
A low-down, side-on photo of the cartridge PCB showing the large blobs of solder attaching the contact legs of the battery to the board.
The blobs of solder are fairly large, but it works.

Pokemon Ruby, Sapphire, and Emerald had a real-time clock function, and the battery for it was soldered into the cartridge. The battery in my Emerald cart was actually working when I got it many years ago, but at some point it ran out and I wasn't confident enough in my soldering skills to replace it. Fast forward a few years and a couple of keyboard assemblies, and I was ready! It didn't end up being the neatest soldering job in the world (as happens most of the time I solder things), but I didn't cook the board so it could've gone a lot worse.
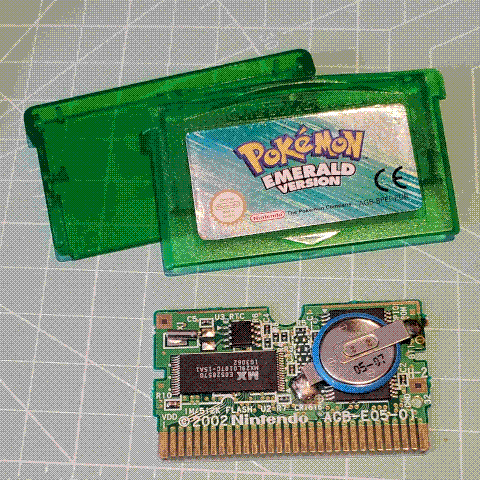
A photo of the cartridge PCB with the original battery, which has a blue casing around the edge. The two halves of the plastic cartridge shell, which are transparent green with a metallic label, are also visible above.
The original blue battery.
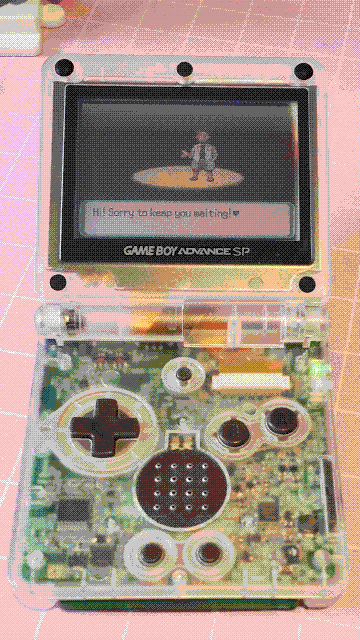
A photo of a Gameboy Advance SP with a transparent shell playing the Pokemon Emerald cartridge. It's showing the start of the game, where Professor Birch greets the player.
A greeting from Prof. Birch, and no warnings about a dry battery.

Playstation Portable 3000 Shell Swap
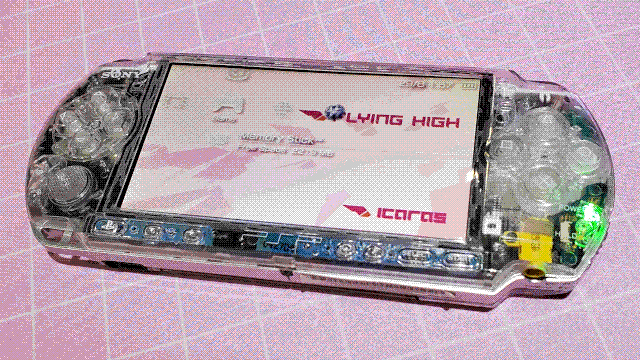
A photo of a PSP-3000 with a transparent shell. The entirety of the case and buttons, except the silver-effect plastic that runs around the outside, is transparent. The PSP is switched on at the main XMB menu, showing the default icon theme and a pink background themed after the 'Icaras' team from wipEout.
The front of the PSP with a transparent housing.

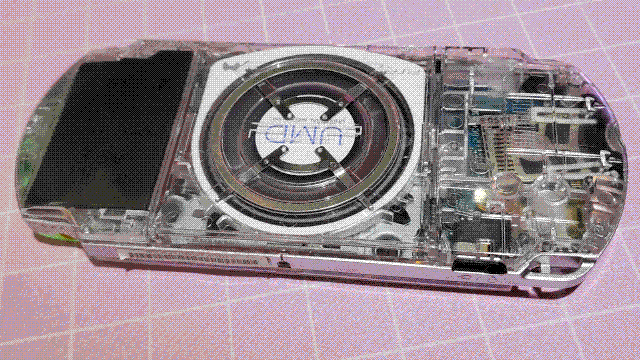
A photo of the back of a PSP-3000 with a transparent shell. Several components of interest are clearly visible, including the Memory Stick slot, an inserted UMD, and battery.
UMD happily spinning away.

The PSP is one of my favorite handhelds: it's sleek, robust, and has absolutely tons of media features that still work great today (I still use it to watch anime). A clear shell swap makes it even better, and it wasn't too difficult to do (although having the disc drive certainly makes things a bit more complicated).
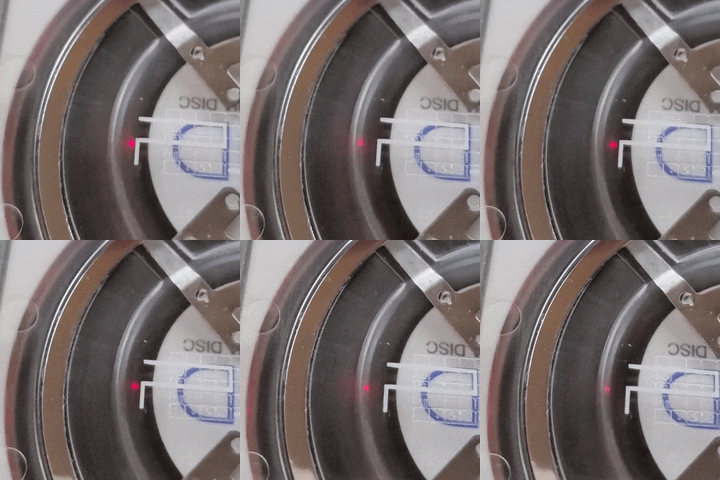
A short animated gif showing a UMD spinning in the disc drive. The reading laser can be seen moving back and forth across the radius of the disc, although it's just a low-power red dot after going through the disc and laser.
Laser! Just don't stare too much.

Although the best way to play games on the PSP is absolutely to just load up the memory card and go, the coolest part of the shell swap is being able to see the UMD spinning in the drive, and even see the laser reading the disc! It's a good thing the laser can't turn on without a disc in, though...


Clear Dapple Joycons
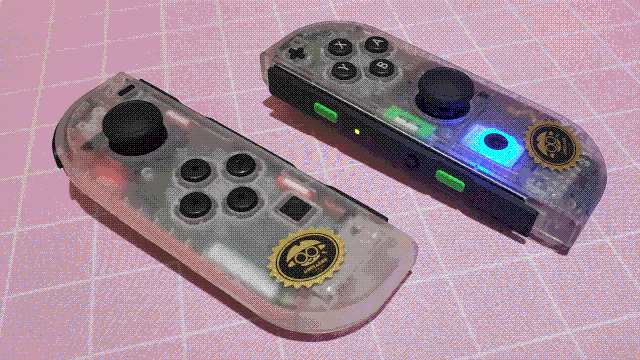
A photo of a pair of Nintendo Switch Joycons with a transparent shell. The buttons are the original components, including the inner SL and SR buttons which retain the pink and green colors of the original shells. The rarely-used notification LED around the home button is lit, and there are black and gold stickers on the bottom of the front face of the controllers: these are the 'Sheldon's Picks' in-game logo from Splatoon, which are meant to resemble the 'Nintendo Seal Of Quality' stickers.
Clear Dapple Joycons, Sheldon-approved.

Nintendo makes a game series called Splatoon. I like it a normal amount. I like it such a normal amount, in fact, that I did a transparent shell swap on my Joycons (which I use to play Splatoon on my Switch Lite. While connected via ethernet. Don't ask.) with the specific aim of making them resemble my Splatoon 2 main weapon, the Clear Dapple Dualies. I was so normal that I even ordered some custom stickers of the 'Sheldon's Picks' logo to stick on them to add to the authenticity. Anyway now Splatoon 3 is the active Splatoon game and I just main regular Dapple Dualies. #TacticoolerLife


Oral-B/Braun Something Electric Toothbrush Battery Replacement
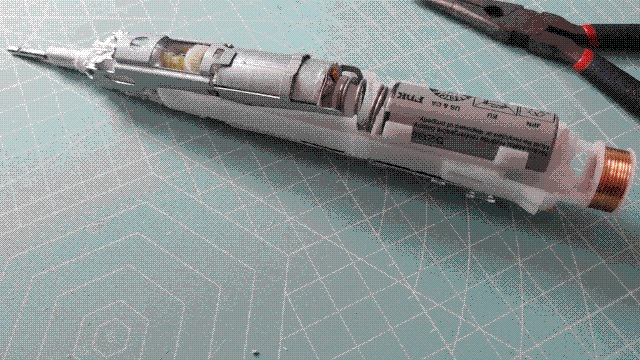
A photo of the back of an Oral-B electric toothbrush when removed from its outer housing. The motor, battery (with a large retaining spring), and copper inductive charging ring are all visible.
The terrifying innards of an electric toothbrush.
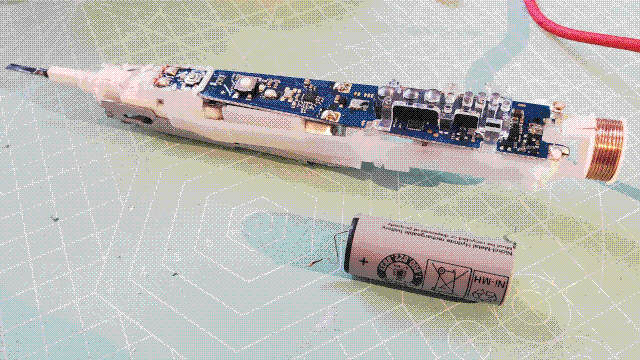
A photo of the front of an Oral-B electric toothbrush when removed from its outer housing. The blue PCB is visible, which contains several chips and components. Most visible are a couple of surface-mount buttons, and a large transparent plastic piece that directs LED light from the PCB to the height of the outer housing. The copper inductive charging ring can also be seen, and the battery has been removed and is sitting next to the toothbrush assembly.
The battery got taken out.

I've had my electric toothbrush for almost a decade now, and I had no reason to replace it: I've kept it clean, I change the head pretty regularly, it just keeps working. Battery degradation, however, is a constant, and eventually it couldn't make it through a 2-minute brush without dying. I was pretty nervous about this repair - it's waterproof sealed, after all, and the battery was soldered in - but since it was non-functional anyway I figured I had nothing to lose. It was a bit of a pain, but I did it!... I forgot to take pictures of it with the new battery in though, so that's all the evidence you're going to get. Successfully avoided needing to get a replacement that wants to connect to my phone via bluetooth or something.


Switch Lite Battery Replacement & Shell Swap
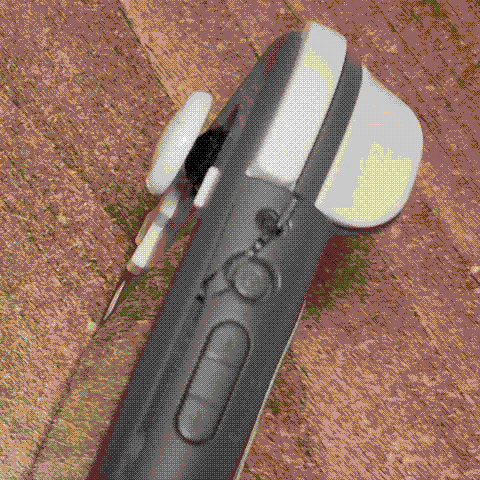
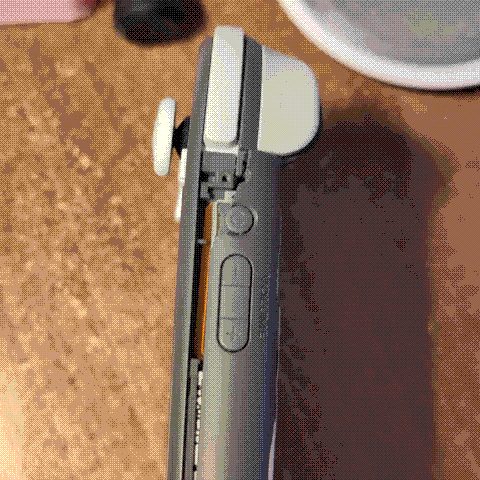
A photo of the top edge of a grey Switch Lite, showing the housing expanding and cracking on the left side (just inside of the left shoulder buttons).
Well, I'm sure that's fine.
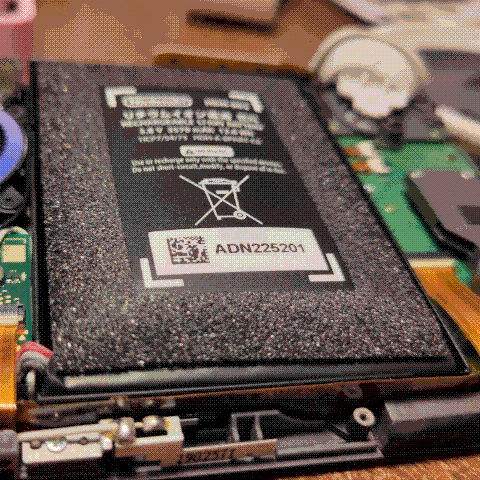
A photo of the back of a Switch Lite with the back panel removed, showing a swollen battery (as well as some PCBs and components around the edge of the photo frame).
IT WAS NOT FINE
Another photo of the top edge of the Switch Lite, this time without the screw holding one end of the back casing in place. This allows it to deform to the full amount imposed by the swollen battery, exposing a little bit of the power + volume button flat flex cable.
The 'true' deformation.

So while playing Signalis over the holidays one year, I noticed part of my Switch Lite's housing was slightly warped and cracked. I was nervous that it might be the battery expanding, but I couldn't think of any reason why it would be and it was entirely possible I'd just put pressure through the housing in a weird way while playing in bed and bent it a bit. Then the day before the Splatoon 3 Side Order expansion released, I looked again and it was worse. At that point I decided to open it up and look before anything bad happened, and well. Spicy pillow time.
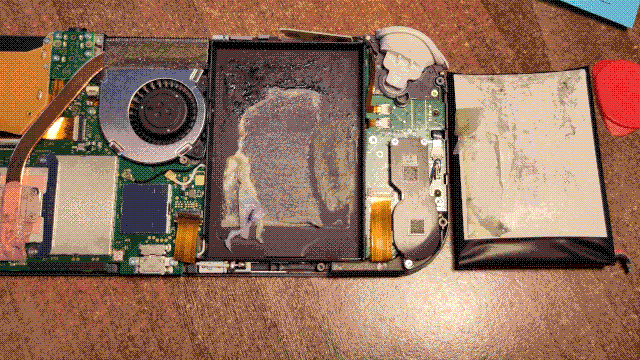
A photo of the back of the Switch Lite with the back panel and battery removed, showing the massive amount of adhesive that had secured the battery down (essentially a large continuous rectangle that took up the entire footprint of the battery). This photo is less zoomed-in, so it includes components like the fan, copper heatpipe, game card slot, left speaker assembly, shielded wireless chip, and more.
WHY DID THEY USE THIS MUCH ADHESIVE. AAAAAAAAAA

Removing the battery was absolutely torture, one of the worst things I've ever had to do for a repair or mod. Other batteries have been soldered or had some weak adhesive, but for some reason Nintendo decided to use a massive rectangle of strong adhesive, despite the battery being in a mechanical enclosure anyway. I don't understand it. Anyway, since I did one of the two really annoying parts of a Switch Lite shell swap/rebuild (the other being detaching the touchscreen with a hairdryer)... you guessed it, it's transparent case time!
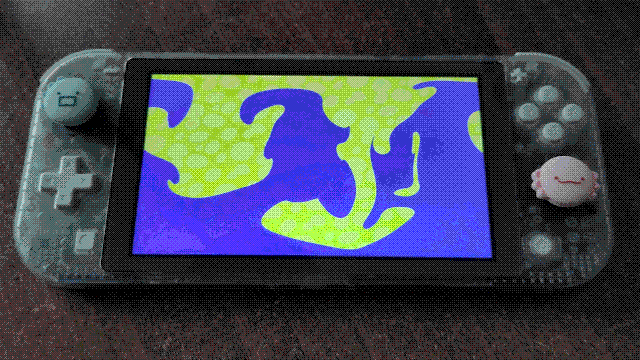
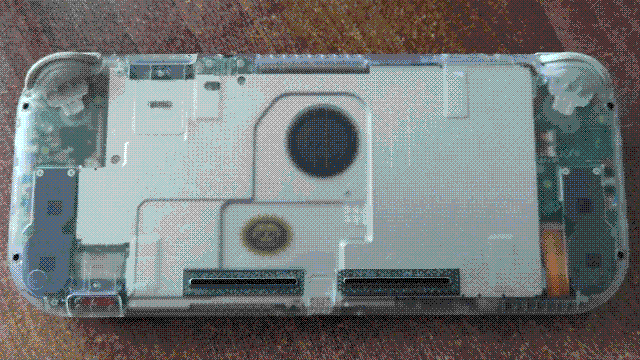
A photo of the front of the shell-swapped Switch Lite. The PCBs and components are visible beneath the shell, although the slightly frosted effect and lower-res, dithered image make details difficult to see. The buttons are the original white/light-grey, and axolotl-themed thumb grips have been fitted to the analog sticks. The console is switched on and is showing the purple-yellow initial loading screen of Splatoon 3.
A clear case makes everything look better.

A photo of the back of the shell-swapped Switch Lite. Most of the area is covered by a large metal heat spreader, covering the components underneath. The fan is visible, as well as some components to the left and right of the heat spreader. A 'Sheldon's Picks' sticker has also been attached to the heat spreader, underneath the casing.
Unfortunately, since the Switch actually needs to deal with heat there isn't a lot to see through the back.

Honestly apart from the battery (and the screen. the screen did suck), this shell swap wasn't too bad. The quality of the shell was pretty good in terms of fits and tolerances (which I certainly can't say for every shell swap I've done), and the process was mostly just screws and ribbon cables like any other handheld... just a lot of them. Keeping everything organized was pretty essential, even with a step-by-step guide video to follow.
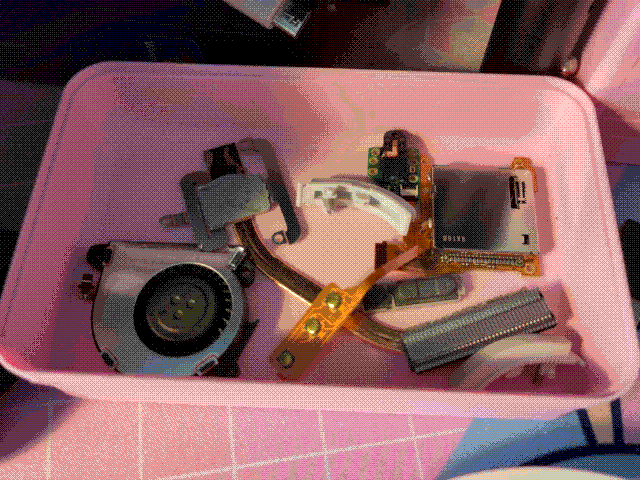
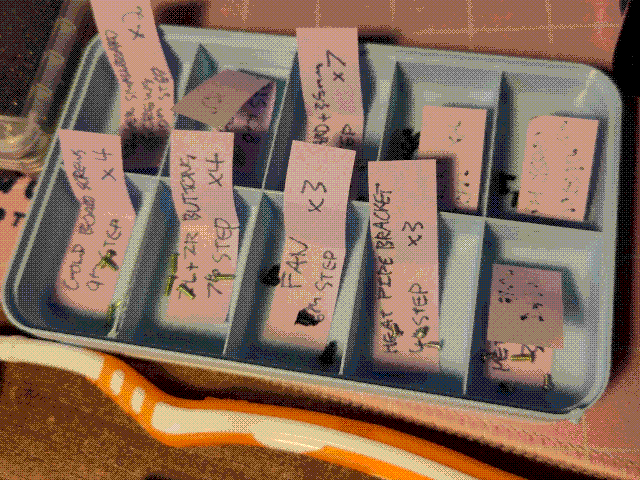
A photo of a pink plastic tray with several Switch Lite components in it, including: the fan, copper heatpipe, game card slot, power + volume button cable, and shoulder bumper buttons.
The DS didn't need a fan and heatpipe!
A photo of a blue plastic tray seperated into ten sections. Each section has a narrow sticky label with a component or disassembly step written on it, and there are screws/bolts inside.
There are so many screws.

The only other annoying thing was the foam around the battery: as you can see above, the original battery had a rectangle of thin foam around the perimeter to just keep some pressure holding it in (although with the amount of adhesive they used, I really don't know why). The replacement battery I got didn't have that, so at first I tried to substitute it with some pretty thick foam I had on-hand already. It sort-of worked, but I felt like it was applying too much pressure and opened it back up to take it out. The good news is that I bet the pressure it applied stuck down the adhesive very well so it shouldn't be necessary anymore, and I'll feel it if it starts rattling around anyway.
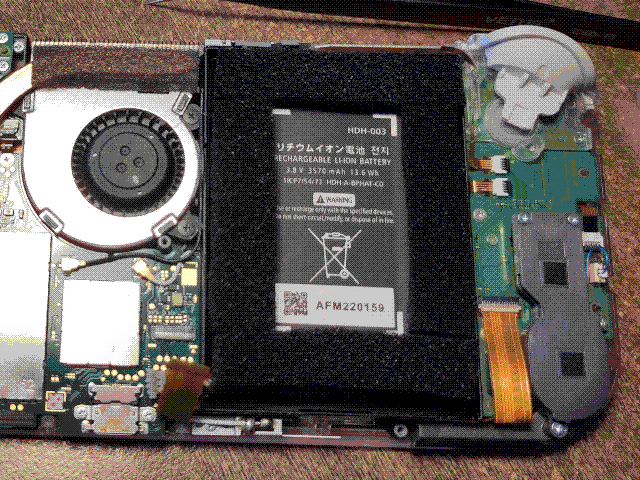
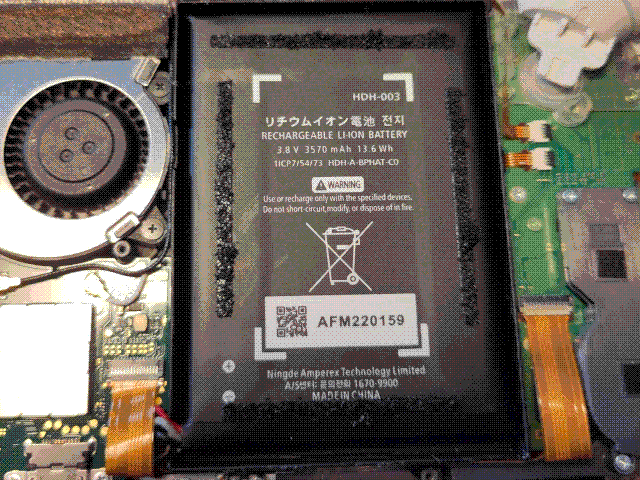
A photo of the back of a Switch Lite with the back panel removed, showing the new battery in place. There is a thick border of foam around the perimeter of the battery.
The thick foam replacement.
A photo of the back of a Switch Lite with the back panel removed, showing the new battery in place. The foam border has been removed, leaving only a little bit of it stuck to the adhesive strips originally holding the entire border in place.
The leftovers of the foam.